
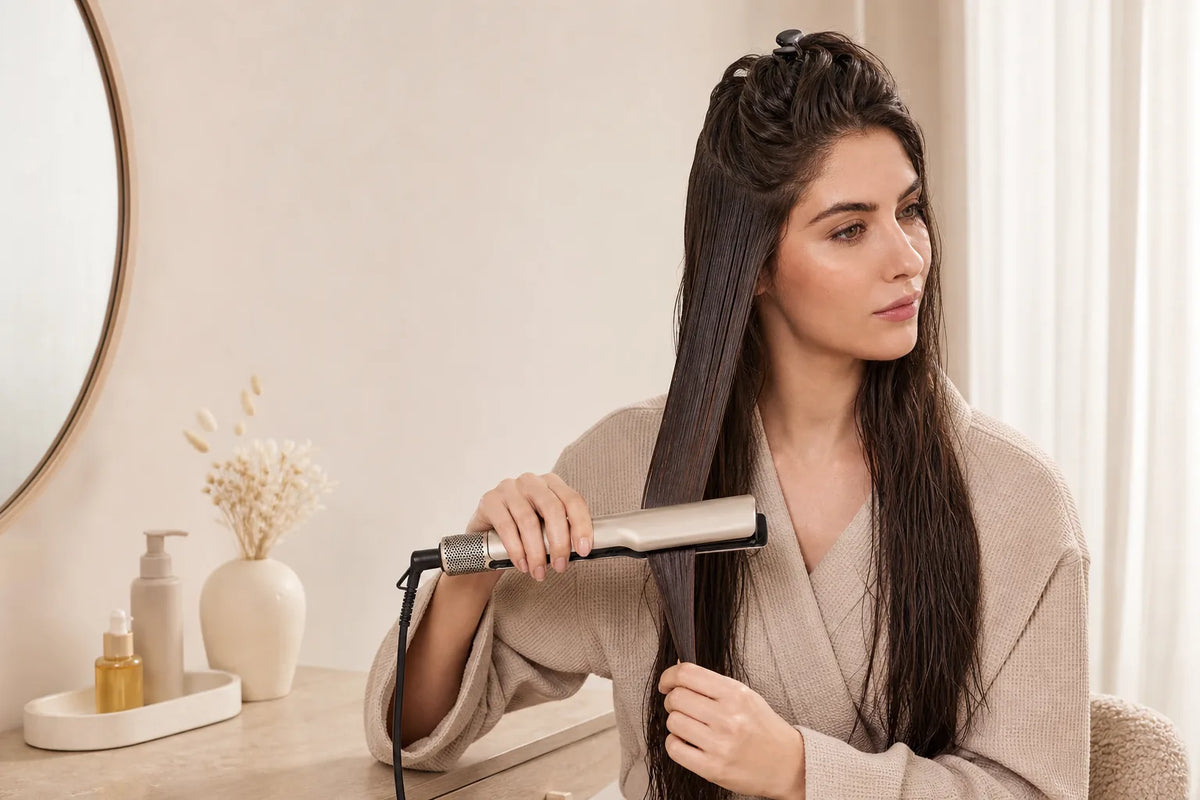
Hair Straightener Temperature Guide for Every Hair Type
Choosing the right hair straightener temperature is less about finding one “perfect” number and more about finding the lowest setting that smooths your hair with a controlled pass. Fine, bleached, weathered, or fragile strands usually need a gentler starting point. Thick or coarse hair may need more heat, but section size, tension, moisture level, and the type of tool can matter just as much as the setting itself.
This guide gives you a practical way to choose and test a setting without treating maximum heat as the default. It also explains an important distinction: a conventional flat iron is generally designed for dry hair, while a purpose-built wet-to-dry airflow straightener follows its own damp-hair instructions. Always follow the manual for your specific tool before applying heat.

The short answer: use the lowest effective heat
There is no universal temperature that is ideal for every head of hair. Two people can both describe their hair as “thick” while having very different strand diameters, density, chemical histories, and moisture levels. Even different areas on the same head may respond differently.
The safest useful rule is simple: begin low, test one small section, and increase only if the result is incomplete after your technique is correct. The American Academy of Dermatology (AAD) advises using flat irons on dry hair at a low or medium setting and warns that excessive heat can damage hair. Its guidance for textured hair also recommends the lowest possible temperature that produces the desired style, while noting that thicker, coarser hair may require more heat.
A temperature guide should therefore be a starting framework, not permission to chase a salon result with repeated high-heat passes. If a section does not smooth, first check whether it is too large, tangled, overly wet for the tool, or moving through the device too quickly.
What determines your starting setting?
1. Individual strand thickness
Fine hair has a smaller strand diameter and can respond quickly to heat. Coarse hair has a larger diameter and may require more energy or a slower, more controlled pass. Strand thickness is not the same as density: you can have many fine hairs or relatively few coarse hairs.
2. Current condition
Bleaching, highlighting, chemical relaxing, frequent coloring, sun exposure, and repeated hot-tool use can leave hair more vulnerable. If your ends feel rough, snap easily, or have visible splitting, treat them as fragile even when the roots feel strong. Previously lightened lengths should not automatically receive the same setting as untouched new growth.
3. Pattern and density
Wavy, curly, and coily hair often needs thoughtful sectioning and steady tension for an even result. Raising the heat because a large section stayed textured can be the wrong correction. Smaller sections may allow the tool to work more evenly at a gentler setting.
4. Starting moisture
A conventional flat iron and a wet-to-dry airflow tool are not interchangeable. Standard flat irons are generally used only on fully dry hair. A tool specifically designed to style damp hair can be used according to its manufacturer’s instructions, usually after excess water has been removed. Never assume that a dry-only tool becomes safe for wet hair because it has adjustable temperature controls.
5. Tool design
Some straighteners display exact degrees; others use numbered settings, modes, regulated airflow, or a combination of air and controlled heat. That is why an online Fahrenheit chart cannot replace the manual. A “medium” mode on one device may not behave like a similarly named mode on another.

Hair straightener temperature guide by hair type
Use the table below as a decision guide rather than a list of universal degree ranges. It deliberately prioritizes observable hair condition and gradual testing, because exact temperatures vary by device and hair history.
| Hair profile | Starting approach | Technique priority | When to stop or reduce heat |
|---|---|---|---|
| Fine or naturally delicate | Begin at the tool’s lowest practical setting. | Use narrow sections and one smooth pass. | Stop if hair becomes stiff, overly dry, or loses movement. |
| Color-treated, bleached, or damaged | Treat as fragile and stay at the low end of the manufacturer’s guidance. | Test an inconspicuous section; avoid repeatedly heating the ends. | Stop if you notice breakage, scorching odor, smoke, or sudden texture change. |
| Medium or relatively healthy | Start low to medium, depending on the tool. | Keep section size even and the pass speed consistent. | Reduce the setting if one controlled pass is already sufficient. |
| Thick or coarse | Start at a moderate setting and adjust gradually if needed. | Use smaller sections before choosing maximum heat. | Stop escalating when a clean pass gives the desired finish. |
| Wavy | Begin low to medium based on strand thickness and condition. | Detangle thoroughly and maintain gentle tension. | Reduce heat if the wave releases easily at a lower setting. |
| Curly or coily | Choose a conservative setting based on condition—not curl pattern alone. | Work in small sections and avoid pulling hard at the roots. | Pause if the scalp feels hot, the hair smells scorched, or strands become brittle. |
Curly or coily hair does not automatically require the highest setting. Healthy coarse strands may tolerate a different approach from fine, highlighted curls, for example. Texture tells you how the hair behaves; strand diameter and condition help tell you how conservatively to begin.
Why we do not recommend one Fahrenheit number
You will often see charts that assign a precise temperature to every hair type. They look reassuring, but they can create false certainty. The heat reaching a strand depends on plate material, calibration, contact time, pressure, airflow, section thickness, and how much moisture is present. A displayed number is only one part of the exposure.
High settings such as 450°F should never be the automatic choice simply because a device can reach them. For many people, maximum heat is unnecessary and can increase the chance of visible damage. If your tool provides exact degrees, stay within its instructions and test upward from a lower setting. If it uses modes instead, do not try to translate those modes into an invented temperature.
Wet-to-dry straightener versus a conventional flat iron
This distinction matters more than any generic chart. The AAD’s standard flat-iron guidance is to use the tool on dry hair. A conventional dry-only iron can expose trapped water to rapid heating, so do not clamp it onto damp hair.
A purpose-built wet-to-dry device is engineered for a different workflow. The NuvyCare Wet-to-Dry Hair Straightener uses high-speed airflow and precise temperature control to help dry, straighten, and smooth damp hair in one step. It should still be used on towel-dried—not dripping—hair and according to the product instructions. For a deeper explanation of the category, see NuvyCare’s companion guide to how wet-to-dry straighteners work.
Whichever design you use, “wet-to-dry” is not permission to skip preparation or hold the tool stationary. Remove excess moisture, detangle gently, apply a compatible heat-protectant product as directed, and keep each pass controlled.
How to find your lowest effective setting
- Read the tool instructions. Confirm whether your straightener is intended for dry hair, damp hair, or both. Note any limits for specific modes.
- Assess today’s condition. Choose your approach based on the most fragile part of your hair, not the strongest. Recently bleached ends deserve extra caution.
- Prepare the correct moisture level. Fully dry hair for a conventional flat iron. For an approved wet-to-dry tool, gently towel-blot until hair is damp rather than dripping.
- Detangle and section. Use a wide-tooth comb and divide hair into clean, manageable sections. Start with a hidden area near the back or underneath.
- Select a conservative setting. Begin at the lowest practical mode within the manufacturer’s guidance.
- Make one steady pass. Keep the device moving from roots toward ends. Do not pause in one place or clamp repeatedly at the same point.
- Let the section cool. Judge smoothness, flexibility, shine, and feel after cooling. Hot hair can feel different from the finished result.
- Change one variable at a time. If necessary, reduce section size or slow to the recommended pass speed before increasing heat by one step.

How to tell whether the setting is working
Signs the setting or technique may be too gentle
- The section remains damp after the recommended wet-to-dry pass.
- The result is uneven even though the hair was fully detangled.
- You need several passes to smooth one narrow section.
These signs do not always mean “add heat.” Check moisture level, section width, tension, and pass speed first. A section that is too large can stay uneven at almost any setting.
Signs to stop and reduce heat
- A scorched smell, visible smoke, or unusual sizzling.
- Hair that suddenly feels hard, rough, or brittle.
- More short broken hairs or visibly frayed ends.
- A hot, painful, or irritated scalp.
Stop styling if you notice these warning signs. Allow the hair and tool to cool, review the manual, and reassess your routine. Persistent breakage, scalp pain, or changes in hair texture are reasons to consult a qualified stylist or board-certified dermatologist.
Six common temperature mistakes
- Starting at maximum heat. A higher ceiling is a device capability, not a recommended default.
- Using sections that are too large. Uneven contact encourages extra passes and unnecessary exposure.
- Heating the same spot repeatedly. Smooth, continuous movement is preferable to stopping and reclamping.
- Treating every wash day the same. Hair may behave differently after coloring, swimming, product buildup, or dry weather.
- Assuming heat protectant makes any setting safe. Protectant can be part of a careful routine, but it does not cancel excessive temperature or repeated passes.
- Using the wrong tool on damp hair. Only use damp hair with a device specifically designed and instructed for that purpose.
A simpler way to style damp hair
If your routine currently involves blow-drying and then straightening, a purpose-built airflow tool can combine those steps. Explore the NuvyCare Wet-to-Dry Hair Straightener or browse the NuvyCare styling collection. The product is designed to transform towel-dried damp hair into a smoother, polished style using high-speed airflow and precise temperature control.
For styling ideas beyond straightening, see how to make straight hair curly, learn how to add volume to flat roots, or read the guide to fluffy hair without extra frizz.
Frequently asked questions
What temperature should I use on my hair straightener?
Use the lowest setting that smooths a properly prepared, narrow test section in one controlled pass. Fine, bleached, damaged, or fragile hair should begin at the low end of the manufacturer’s guidance. Thick or coarse hair may need a moderate increase, but try smaller sections and correct technique before choosing maximum heat.
Is 450°F too hot for a hair straightener?
For many hair types, 450°F may be more heat than necessary and should not be the default. Follow your tool’s instructions, begin lower, and increase only if a careful test shows that more heat is needed. Stop if you notice a scorched smell, smoke, sudden roughness, or breakage.
What hair straightener temperature is best for fine hair?
Fine hair usually responds best when you start at the lowest practical setting recommended for the tool. Use small sections, one smooth pass, and judge the result after the hair cools. If the section is already smooth, there is no benefit in raising the setting.
What temperature should I use for thick or coarse hair?
Start at a moderate setting within the manufacturer’s guidance, then test one small section. Thick or coarse hair may require more heat than fine hair, but reducing section size and maintaining steady tension can improve results without immediately moving to the maximum setting.
Can I use a hair straightener on damp hair?
Only use a straightener on damp hair if the manufacturer specifically designed and approved it for wet-to-dry styling. Conventional flat irons should be used on dry hair. With an approved wet-to-dry tool, remove excess water first and follow its instructions for moisture level, mode, and pass technique.
Does heat protectant make high temperatures safe?
No. A compatible heat protectant can be one part of a careful routine, but it does not make maximum heat or repeated passes risk-free. Use it as directed, combine it with the lowest effective setting, and reduce the frequency and duration of heat exposure when possible.
Editorial note: This article provides general hair-care information and is not medical advice. Product settings and approved moisture levels vary, so always follow the instructions supplied with your device.
Share:
Pre-Shave Lotion for Electric Shaver: Does It Improve Comfort and Closeness?
Best Styling Tools for Short Hair: Volume, Waves, and Smooth Finishes