
Professional Hair Styling Tools You Can Use at Home: A Practical Guide
A polished blowout, soft bend, or smooth finish can look complicated when it is broken into all the tools a stylist might keep at a salon station. At home, however, you do not need a crowded counter or a separate device for every possible look. The most useful professional hair styling tools are the ones that match your hair, your usual styles, and the amount of time you actually have.
This guide explains the core tool categories, what each one contributes, and how to build a practical kit without buying duplicates. You will also find a step-by-step routine for turning towel-dried hair into a finished style. The goal is not to imitate a salon by owning more. It is to make drying, shaping, and finishing easier to repeat at home.

What makes a hair styling tool feel professional?
“Professional” should describe performance and control, not just packaging. A good tool helps you direct air or heat where it is needed, maintain a comfortable grip, and repeat the same movement across every section. It should also suit the job: removing moisture, creating tension, forming a curl, lifting the roots, or refining the ends.
Reliability matters more than the number of settings. Controls should be easy to reach, attachments should connect securely, and the tool should feel balanced enough for the back of your head. Practical handling often matters more than a long feature list.
Finally, professional results depend on technique. Even an excellent tool cannot compensate for dripping-wet hair, tangled sections, or repeated passes made without a plan. Think of the device and the routine as one system.
The essential professional hair styling tools
Most at-home routines can be built around four functions. You may buy separate devices for each, or use a multi-styler that covers several functions with interchangeable heads.
1. A drying tool with directed airflow
Drying is the foundation because hair that remains damp inside a finished section can lose its shape or become puffy later. A focused dryer head helps move air along the hair rather than scattering it in every direction. Use it first to remove excess moisture, especially at the roots and underneath dense areas.
For a smooth result, point airflow from roots toward ends while keeping the tool moving. For volume, lift sections away from the scalp and direct air toward the roots. The aim is controlled airflow, not simply maximum force or maximum heat.
2. A round brush for volume and shape
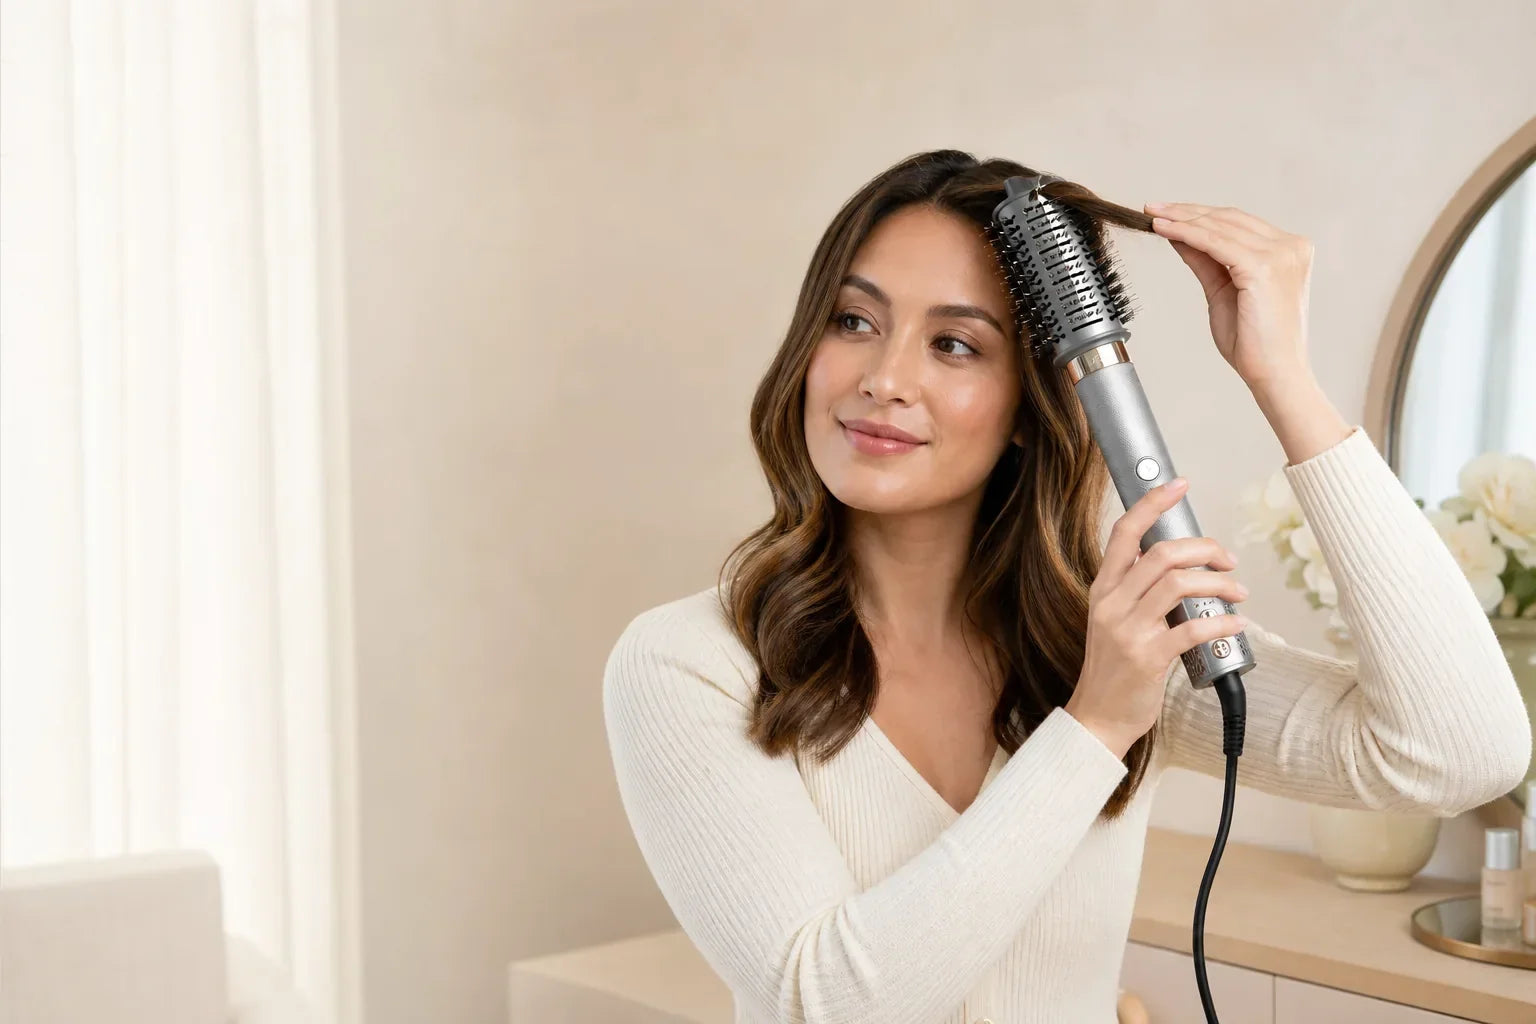
A round brush creates tension while encouraging lift, smoothness, and a bend through the ends. Smaller brush heads generally make a tighter curve and can be easier around shorter layers. Larger heads encourage broader movement on longer hair. With a hot-air brush attachment, airflow and brush tension are combined so you do not have to coordinate a separate dryer in one hand and brush in the other.
Do not wind a large section tightly around the brush. Start with a section no wider than the brush head, keep the hair evenly spread, and rotate gradually. If the brush catches, stop and unwind instead of pulling.
3. A curling tool for bends, waves, or curls
A curling barrel changes the direction of the hair around a consistent shape. The size of the section matters as much as the barrel: smaller sections usually form a more defined curl, while larger sections create a looser bend. The angle matters too. Holding the tool more vertically tends to create an elongated wave; working horizontally can create more lift and roundness.
Hair should be dry before you use a heated curling attachment unless the manufacturer's instructions clearly say otherwise. Keep the tool away from the scalp, avoid overlapping the same strand excessively, and allow the curl to cool before brushing it out.
4. A smoothing or finishing attachment
Finishing tools help organize the surface once the overall shape is in place. They can direct airflow along flyaways, soften an overly defined curl pattern, or refine the ends. This stage should be light. If you are trying to correct large damp or uneven areas during finishing, return to smaller sections rather than repeatedly heating the surface.
5. Simple support tools
The least glamorous items often make the biggest difference: a wide-tooth comb or detangling brush, several sectioning clips, a microfiber towel, and a heat protectant appropriate for your hair and device. Clips keep finished and unfinished hair separate. A towel removes water without aggressive rubbing. A comb reveals knots before a hot tool finds them.

Separate tools or a multi-styler?
Separate tools offer specialization. Someone who wears the same tight curl every day may value a dedicated barrel in an exact size. The tradeoff is storage, cost, cords, and switching devices while you work.
A multi-styler places several styling functions on one powered handle. It is often a better fit when you rotate between a smooth blowout, root volume, soft waves, and quick drying. It can also reduce counter clutter and make travel packing simpler. The tradeoff is that you need to learn when to change attachments and allow any heated component to cool before handling it as directed.
| Consideration | Separate styling tools | Multi-styler |
|---|---|---|
| Best for | One signature style or highly specific preferences | People who alternate between several everyday looks |
| Storage | More devices, cords, and heat-safe space | One handle with organized attachments |
| Workflow | Switch devices between drying and styling | Change the head as the routine moves from drying to shaping |
| Learning curve | Learn several controls and handling styles | Learn sectioning plus the purpose of each attachment |
Choose based on the looks you make during a normal month, not an imagined special occasion. If you routinely use three or four functions, a multi-tool may earn its storage space. If you only use one, a dedicated device may be simpler.
How to choose tools for your hair and routine
Start with your most common result
Write down the style you wear most: smooth with tucked ends, bouncy with root lift, loose waves, or defined curls. Then identify the steps required to get there. This prevents buying a tool because it can create a dramatic look you rarely wear.
Consider length and density
Short layers need attachments that can reach close sections without crowding the face. Long hair benefits from enough barrel or brush length to hold the section evenly. Dense hair usually needs more sections, while fine hair often needs lighter tension and a conservative approach to heat.
Account for condition, not just texture
Colored, lightened, or fragile hair may respond differently from untreated hair of the same texture. Begin gently, use appropriate protection, and do not treat a higher setting as the solution to every problem. Ask a qualified stylist before using new heat on severely compromised hair.
Check the real handling details
Look beyond a feature list. Can you reach the controls while holding the tool? Does the attachment lock in place? Is the grip comfortable? Can the intake remain clear while you work? Is there a safe place to set down hot components? These details determine whether professional hair styling tools feel helpful on an ordinary morning.
A practical at-home styling workflow
Step 1: Towel-dry without roughing up the hair
After washing, gently squeeze out water and blot with a microfiber towel or soft cotton T-shirt. Avoid vigorous rubbing. Hair should be damp rather than dripping before you begin the drying stage.
Step 2: Detangle and apply protection
Detangle from the ends upward. Apply a heat protectant that is suitable for your hair and the tool you plan to use, following the product directions. Distribute it evenly instead of saturating a few areas.
Step 3: Rough-dry strategically
Use a dryer head to remove most of the moisture. Concentrate on the roots, nape, and underneath dense sections. Keep airflow moving and pointed generally down the hair shaft when smoothness is the goal. Stop before the hair becomes overly dry and difficult to reshape with an air-styling brush.
Step 4: Divide hair into a repeatable map
Create a lower section, middle section, and top section, then split each into left and right. The exact number can change with density, but using the same map each time helps both sides look consistent. Clip away everything you are not working on.
Step 5: Build the main shape
For a blowout, place a round-brush attachment beneath a section, create gentle tension, and move steadily from roots to ends. Lift the tool upward at the roots for volume; turn slightly through the ends for a soft curve. For waves, make sure the section is dry, switch safely to the curling attachment, and work with narrow, even strands.

Step 6: Let each section set
Hair changes shape while warm and holds it as it cools. Release each curl or rounded section gently, then leave it alone for a moment. Pulling, brushing, or tying it back immediately can undo the shape before it has set.
Step 7: Finish only what needs finishing
Once all sections are cool, separate curls with your fingers or brush them into the desired wave. Use a smoothing attachment or a small amount of lightweight finishing product on the surface and ends if needed. Do not bury clean movement under too much oil or hairspray.
Step 8: Cool, clean, and store
Switch off and unplug the tool. Let the handle and attachments cool on a heat-safe surface. Remove shed hair from brushes and keep air-intake areas free of lint according to the manufacturer's care instructions. Organized storage protects the connections and makes the next routine faster.
Common mistakes that make home styling harder
- Skipping the drying plan: shaping hair that is still unevenly wet can lead to collapse or frizz later.
- Taking sections that are too large: the outside may look finished while the inner hair remains damp or unshaped.
- Using maximum heat by default: match the approach to your hair's texture and condition rather than assuming hotter is more professional.
- Changing direction randomly: repeat the same angle and section size on both sides for a more intentional result.
- Brushing curls immediately: allow warm sections to cool before loosening them.
- Ignoring maintenance: hair, dust, and product residue can interfere with airflow and handling.
Building a compact professional-quality kit
A sensible starter kit needs only a drying-and-shaping tool, a detangler, clips, a towel, and suitable protection. Add another tool only after you can name the gap it fills. If a round brush creates your everyday finish but you also want waves, a system with brush and curling attachments can be more useful than several similar brushes.
The NuvyCare 5 in 1 Multi-Styler combines one lightweight, compact powered base with five attachments designed for different styling tasks. That makes it a practical option for moving from drying to volume, smoothing, or curls without filling the counter with separate devices. Select the attachment for the job, follow the supplied instructions, and change heated pieces only when it is safe to do so.
One base, more than one everyday style
If your routine moves between a quick dry, a rounded blowout, and soft waves, the NuvyCare 5 in 1 Multi-Styler keeps those options in one compact system. Its five interchangeable attachments let you choose a tool based on today's finish instead of storing several full-size devices.
Frequently asked questions
What professional hair styling tools do I need at home?
Most people need a way to dry, a way to shape, sectioning clips, a detangling tool, a soft towel, and suitable heat protection. A multi-styler can cover drying, brushing, curling, and finishing functions with one powered handle.
Is a multi-styler better than separate tools?
It depends on your routine. A multi-styler is useful when you alternate between several looks and value compact storage. Separate tools may suit someone who creates one very specific style and wants a highly specialized device.
Can I use a curling attachment on damp hair?
Use a curling attachment only on the starting condition specified by its manufacturer. Unless the instructions explicitly allow damp styling, dry the section first. Never assume every attachment in the same system is intended for wet hair.
How do I make a home blowout last longer?
Dry each section completely, use consistent tension, and let the shaped hair cool before brushing or touching it. Hidden dampness at the roots or nape often causes a blowout to lose its shape early.
Which round brush size should I choose?
A smaller brush generally creates more curve and can work well on shorter layers. A larger brush produces a broader bend and is often convenient for longer hair. Section size and technique also affect the result.
How often should I clean hair styling tools?
Remove shed hair from brush attachments regularly and wipe accessible surfaces only after the tool is unplugged and cool. Keep air intakes clear and follow the manufacturer's instructions for deeper cleaning; the right schedule depends on use and product buildup.
For more technique ideas, read how to add volume to flat roots, how to make straight hair curly, or how to get fluffy hair without frizz. You can also browse all NuvyCare hair styling tools.
Share:
What Is a Wet-to-Dry Hair Straightener? How One-Step Styling Works
Pre-Shave Lotion for Electric Shaver: Does It Improve Comfort and Closeness?