
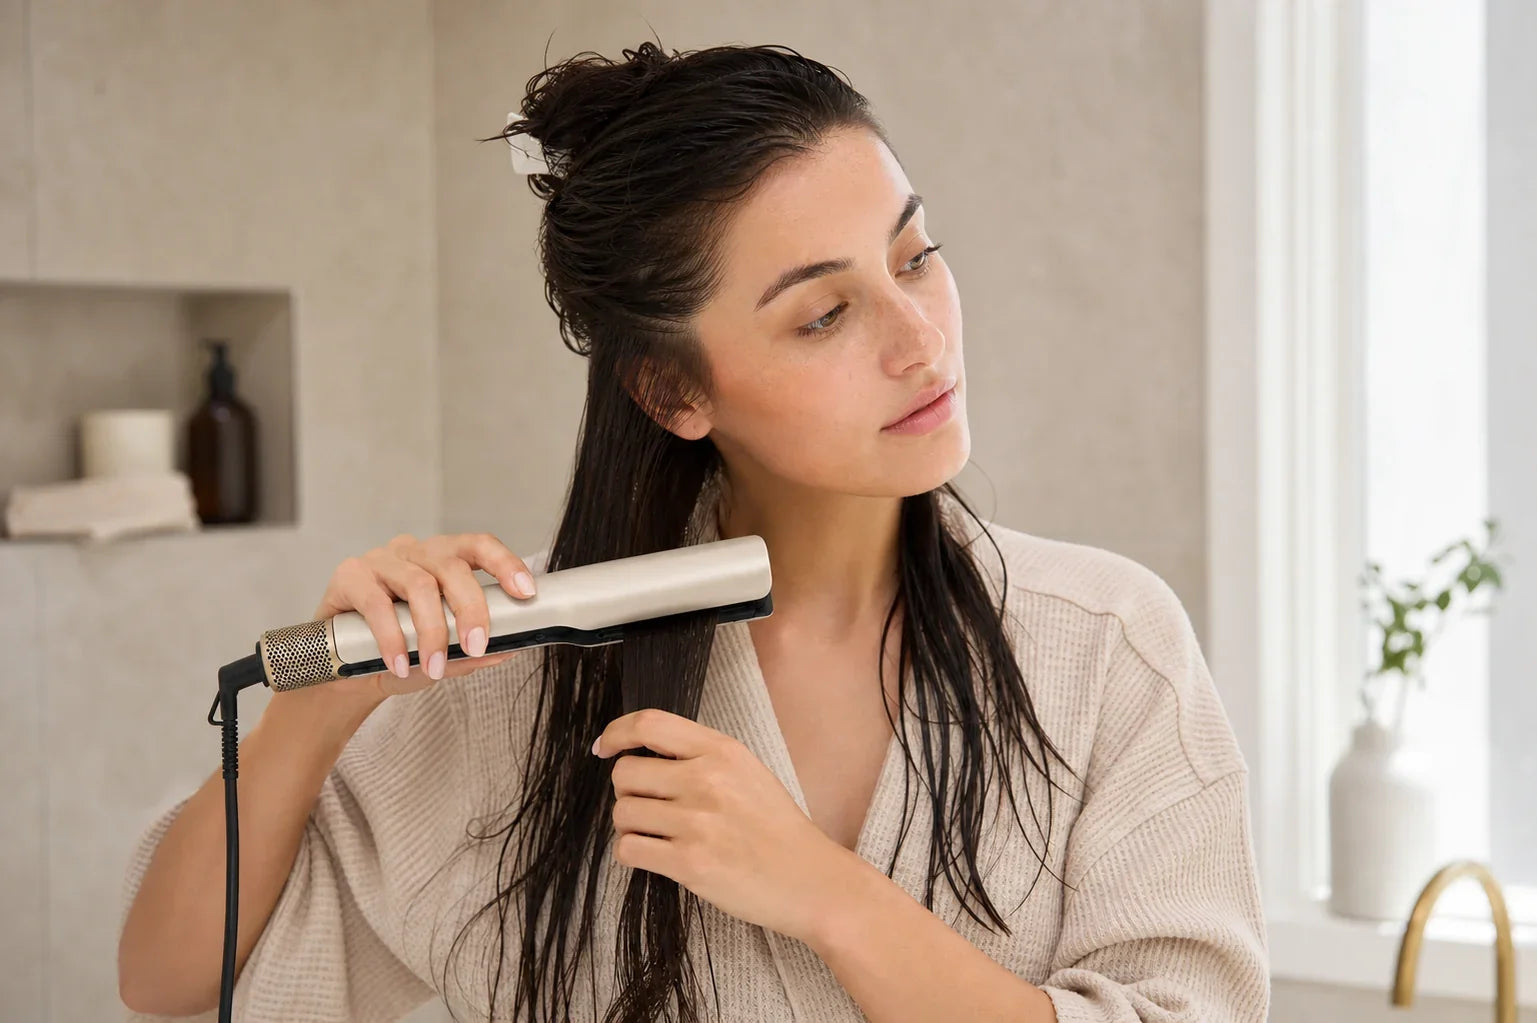
What Is a Wet-to-Dry Hair Straightener? How One-Step Styling Works
Washing your hair can turn a simple morning into a two-tool routine: dry first, straighten second, then go back over the sections that still look puffy or uneven. A wet-to-dry hair straightener is designed to streamline that process. Instead of using a conventional flat iron on fully dry hair, this type of tool combines controlled airflow with carefully managed heat to help dry, smooth, and straighten towel-dried hair in one routine.
That does not mean placing a hot tool on dripping-wet hair or rushing through large sections. The best results still depend on preparation, sensible settings, and steady technique. Below, we explain how wet-to-dry technology works, how it differs from a traditional flat iron, who may benefit from it, and how to use it for a smooth finish without unnecessary repeat passes.

What is a wet-to-dry hair straightener?
A wet-to-dry hair straightener is a styling tool made to work on damp hair. While designs vary, the central idea is to move moisture away from the hair while aligning and smoothing the strands. Some models rely mainly on vented heated plates. Newer airflow-focused designs use high-speed air, temperature control, and the tension created by the tool's arms to dry and straighten at the same time.
This is different from using an ordinary flat iron on wet hair. A traditional flat iron is generally intended for dry hair unless its manufacturer explicitly says otherwise. Trapped moisture can turn rapidly to steam when it meets very hot plates, creating uneven results and placing avoidable stress on the hair. If a tool is not labeled for damp-hair use, wait until your hair is fully dry.
The NuvyCare Wet-to-Dry Hair Straightener is designed around high-speed airflow and precise temperature control. It helps take towel-dried hair toward a smooth, polished finish while drying, straightening, and smoothing in a single step.
How does one-step wet-to-dry styling work?
The tool is doing several jobs at once, but each part of the process has a clear purpose.
1. Airflow helps move moisture away
As the tool passes over a section, directed airflow helps remove moisture from the surface and between the strands. That is why starting damp—not soaking—is important. A microfiber towel or soft cotton T-shirt should remove the excess water first. The tool can then focus on controlled drying rather than trying to handle water-heavy hair.
2. Controlled heat supports drying and shaping
Warmth speeds evaporation and makes hair easier to shape. More heat, however, is not automatically better. Your ideal setting depends on your hair's density, texture, condition, and how damp it is. Fine, lightened, fragile, or previously damaged hair usually calls for a gentler approach. Thick or coarse hair may need smaller sections, a slower pass, or an appropriate higher setting rather than repeated fast passes.
3. Tension helps align the hair
When a small section is held evenly between the tool's arms, gentle tension helps organize the strands in the same direction. A smooth, controlled pass from near the roots toward the ends encourages a straighter finish. The goal is consistent contact and movement—not clamping hard or stopping in one place.
4. Sectioning makes the result more even
Working in manageable sections allows air and heat to reach the hair more evenly. Oversized sections often stay damp inside, which leads to extra passes and inconsistent texture. If a section feels cool and wet after the first pass, make it smaller instead of repeatedly increasing the temperature.
Wet-to-dry straightener vs. traditional flat iron
| Feature | Wet-to-dry hair straightener | Traditional flat iron |
|---|---|---|
| Starting hair | Towel-dried and damp, according to the tool's instructions | Usually fully dry |
| Primary process | Dries, smooths, and straightens during the same routine | Uses heated plates to reshape already-dry hair |
| Tools needed | May replace a separate rough-dry and straightening sequence | Normally follows a hair dryer or air-drying |
| Best fit | People who want a streamlined wash-day routine and a smooth finish | Dry-hair touch-ups, precise bends, or very sleek finishing |
Neither category is automatically right for everyone. A conventional flat iron can be useful for detailed dry styling. A wet-to-dry model is most compelling when the real problem is the time and tool switching between washing, drying, and smoothing.
What kind of finish can you expect?
A wet-to-dry hair straightener is built to create a smooth, polished result, but the exact finish depends on your starting texture and technique. Naturally straight or wavy hair may reach a sleek finish with a single controlled pass on each small section. Dense curls and coils can require more preparation, firmer—but still gentle—tension, and additional sections. The aim should be an even result, not forcing every texture to behave the same way.
You can also adjust the finish without changing tools. To preserve some root volume, begin slightly away from the scalp and avoid pulling the roots completely flat. For straighter ends, keep the device level as you pass through the final inches. For a softer shape, angle the tool gently inward near the ends without stopping in place. These small movements are more useful than repeatedly increasing the heat.
Humidity, styling products, and how completely each section dries will affect how long the result lasts. If the inner layers remain damp, they can swell or become frizzy later. Before finishing, check the sections at the nape and behind the ears, where hidden moisture is easiest to miss. A complete, even dry is more important than achieving an artificially glass-like finish.
Who is a wet-to-dry straightener best for?
A wet-to-dry hair straightener may be a good match if you regularly wash and style on the same morning, find a round-brush blowout difficult, or want a polished result without juggling a dryer and flat iron. It can also be useful for people who prefer straight or softly smoothed styles most days.
Hair type still matters. Fine hair usually benefits from smaller amounts of heat and light tension. Thick hair often responds better when divided into more sections. Wavy hair can be smoothed while preserving some movement by reducing tension near the ends. Curly or coily hair may require especially careful sectioning, detangling, and realistic expectations about the number of passes needed.
If your hair is severely damaged, breaking, chemically compromised, or unusually fragile, pause before adding a new heated routine. Follow your stylist's guidance and the tool manufacturer's directions. No styling device can reverse existing damage, and a faster routine is only useful when the technique also respects the condition of your hair.
Expect a short learning curve. During the first few uses, focus on finding the section size and pass speed that leave your hair fully dry without repeated work. Once that pattern becomes familiar, the main time-saving benefit comes from removing a separate drying-and-straightening handoff—not from racing the device through the hair.

How to use a wet-to-dry hair straightener
Step 1: Remove excess water
Gently squeeze water from freshly washed hair. Blot with a microfiber towel rather than rubbing aggressively, which can tangle the cuticle and encourage frizz. Your hair should feel damp throughout, but it should not drip when you lift a section.
Step 2: Detangle carefully
Use a wide-tooth comb or detangling brush, beginning at the ends and working upward. Removing knots before styling helps the tool move consistently and reduces the temptation to tug through a snag.
Step 3: Apply appropriate protection
Use a heat-protectant product that is suitable for damp hair and compatible with your styling tool. Apply it evenly rather than saturating the hair. Heavy layers of product can make sections feel wet for longer and may leave residue on the device.
Step 4: Choose a sensible setting
Begin with the manufacturer's recommended setting for your hair type. Starting lower lets you observe how your hair responds. If a section remains damp, first check its size and your pass speed before automatically increasing the heat.
Step 5: Divide hair into small sections
Clip away the upper layers and begin at the back or nape. Sections should be narrow enough to sit evenly within the tool. Thick hair usually needs more sections than fine hair. Consistent section size makes the result easier to repeat on both sides.
Step 6: Make a slow, continuous pass
Position the tool near—but not directly against—the scalp. Close it gently around the section and glide toward the ends at a steady pace. Keep the tool moving. If the roots are still damp, work with a thinner section instead of holding the device still.
Step 7: Let the section cool
Release the hair and allow it to cool before deciding whether it needs another pass. Hair can feel slightly different while it is still warm. Once cool, it should feel dry and look evenly smoothed from root to end.
Step 8: Finish lightly
Use a small amount of lightweight serum or finishing product only if needed. Concentrate it on the mid-lengths and ends. Too much oil before or during heat styling can weigh the result down.

Common wet-to-dry styling mistakes
- Starting with dripping hair: remove excess water first so the airflow can work efficiently.
- Using sections that are too large: the outside may look smooth while the center remains damp.
- Moving too quickly: one controlled pass is often better than several rushed passes.
- Holding the tool in one spot: keep it moving steadily and avoid clamping with excessive pressure.
- Ignoring product buildup: unplug the tool, let it cool, and clean it according to the manufacturer's instructions.
- Treating every hair type the same: adjust section size, heat, and tension to your texture and condition.
What to look for when choosing one
Start with the drying system. A wet-to-dry tool should explain how it removes moisture, not simply claim that hot plates are safe on wet hair. Look for controlled airflow or clearly vented construction, accessible temperature controls, and a shape that can hold a section evenly without snagging.
Also consider weight, balance, cord movement, and how easy the air intake is to keep clear. A tool that feels awkward in your hand will be harder to move at a consistent speed. Finally, check whether the manufacturer's recommended routine matches your habits. If you normally style directly after washing, an airflow-based straightener may offer more practical value than another dry-hair finishing tool.
A simpler path from damp to polished
The NuvyCare Wet-to-Dry Hair Straightener combines high-speed airflow with precise temperature control to help dry, straighten, and smooth damp hair in one step. Its wide styling form and integrated airflow design are built for people who want a polished finish without moving between a separate dryer and flat iron.
Frequently asked questions
Can you use a wet-to-dry straightener on soaking-wet hair?
No. Unless the manufacturer explicitly instructs otherwise, remove excess water first and begin with towel-dried, damp hair. Starting with dripping hair makes drying slower and can lead to uneven results.
Is a wet-to-dry hair straightener the same as a flat iron?
No. A conventional flat iron is normally used on dry hair and reshapes it with heated plates. A wet-to-dry model is designed to remove moisture while smoothing and straightening damp hair.
Do I still need a hair dryer?
Not necessarily for the same styling session. An airflow-based wet-to-dry straightener may handle the drying and smoothing stages together. You may still prefer a separate dryer for rough-drying roots, adding volume, or creating other styles.
Does wet-to-dry styling prevent heat damage?
No heated tool can promise damage-free styling. Controlled heat, smaller sections, appropriate protection, and fewer unnecessary passes can support a gentler routine, but technique and hair condition still matter.
Can a wet-to-dry straightener work on thick or curly hair?
It can, but thick, curly, or coily hair usually requires careful detangling and more, smaller sections. Follow the manufacturer's setting guidance and adjust your pass speed instead of relying only on higher heat.
How should I maintain a wet-to-dry straightener?
Unplug it and allow it to cool completely. Wipe styling surfaces as directed, remove product residue, and keep air-intake areas free of lint and hair. Always follow the cleaning instructions supplied with your device.
If you are still deciding which routine suits your goals, explore NuvyCare's hair styling tools. For curl-focused styling, you can also read how to make straight hair curly, or learn how to add volume to flat roots without rebuilding your entire routine.
Share:
What Is a Barber Shaver—and Do You Need One at Home?
Professional Hair Styling Tools You Can Use at Home: A Practical Guide